🗓️ Updated: May 2026 ⏱️ 12 min read ✍️ SEO & Content Team 📋 ~2,400 words
MY Bharat Portal Registration 2026 Complete Guide
Discover our My Bharat Portal registration guide 2026 to help students navigate the process smoothly and avoid common pitfalls.
Thousands of Indian youth open mybharat.gov.in every day — and get stuck before they finish.Wrong registration category. Aadhaar KYC failure. OTP not received. MBP ID not showing. These are not rare problems. — they happen to lakhs of students across India every single registration cycle. This guide covers every registration type in one place so you get it right the first time.
Whether you are registering as Youth (aged 15–29), linking your NSS unit as a college volunteer, or joining as a Partner organisation — every step is covered here with exact instructions, real error fixes, and zero jargon. No detours, no confusion.
This is the only MY Bharat Portal registration guide that covers all three registration types — Youth, NSS Volunteer, and Partner — along with Aadhaar KYC steps, DigiLocker linking, MBP ID retrieval, and post-registration profile completion.
Written after testing the actual mybharat.gov.in portal. Updated May 2026. Verified against the latest Mera Yuva Bharat portal flow under the Ministry of Youth Affairs and Sports.
📋 Table of Contents
My Bharat Portal Registration Guide 2026 – What You Need to Know First
We offer Assistance to the people of India for My Bharat Portal — officially called Mera Yuva Bharat (MY Bharat) — is a government
( https://mybharat.gov.in ) platform launched by the Ministry of Youth Affairs and Sports. It connects Indian youth aged 15 to 29 with experiential learning, volunteering, government internships, and skill development programmes.
Think of it as your official digital identity for youth participation in India. Every activity you complete — NSS hours, quizzes, events, the PM Internship Scheme — gets recorded against your unique MBP ID (Mera Bharat Profile ID), a verifiable government-backed credential.
Quick Facts: Registration is free of cost, open to all eligible Indian citizens, and takes about 8–10 minutes if your documents are ready and your Aadhaar is linked to an active mobile number.
Overview – Who Can Register on My Bharat Portal?
There are three types of registrations on https://mybharat.gov.in Choosing the wrong category is one of the most common mistakes. Identify which one applies to you before you start.
Registration Type | Who It’s For | Key Requirement |
|---|---|---|
🎓 Youth | Students, graduates, individuals aged 15–29 years | Aadhaar-linked mobile number |
🏫 NSS Volunteer | Students enrolled in the National Service Scheme at their college | Youth registration first, then link NSS unit |
🏢 Partner / Organisation | NGOs, companies, government bodies posting opportunities | Official organisation registration documents |
💡NSS Students Note: If you are a student who is also an NSS volunteer, register as Youth first, then link your NSS unit from your profile dashboard. You do NOT need a separate registration.
Documents Required for My Bharat Portal Registration
Keep these ready before you open the registration page. Having them on hand means you will finish in one sitting without getting stuck midway.
For Youth Registration :
- Aadhaar Card linked to your active mobile number
- Working email address (for confirmation & MBP ID)
- Mobile number linked to Aadhaar (for OTP)
- Basic educational details — class, college name, year of study
- DigiLocker account (optional but strongly recommended)
For NSS Volunteers : (in addition to above)
- Your college’s NSS Unit number
- Name of your NSS Programme Officer
- University name exactly as it appears on official records
For Partner / Organisation Registration : (in addition to above)
- Official organisation name and registered address
- Ministry or department registration/incorporation number
- Authorised representative’s name, designation & contact details
⚠️Critical: Your Aadhaar-linked mobile number and the number you use for OTP must be the same. If they differ, KYC will fail. Verify this before you start.
How to Register on My Bharat Portal as Youth : (Step-by-Step)
01 Visit the Official Registration Page
Open your browser and go to https://mybharat.gov.in Do not use any third-party app or link. On the homepage, click the “Register” button at the top right corner. From the options shown, select “Youth.” Use Chrome or Firefox — the portal has known issues with in-app browsers (WhatsApp, Instagram).
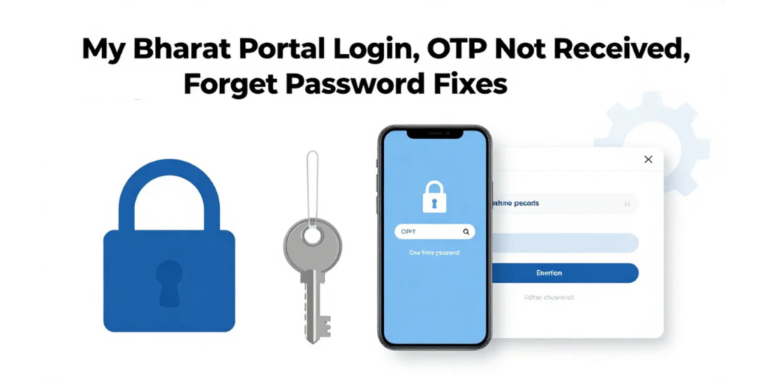
02 Enter Your Mobile Number and Verify OTP
Type your 10-digit mobile number linked to Aadhaar. Click “Get OTP.” Enter the 6-digit OTP within 2 minutes. If the OTP does not arrive, wait 3 full minutes before clicking Resend — multiple rapid clicks can trigger a temporary block on your number.
03 Complete Aadhaar KYC Verification
This is mandatory in 2026. You have two options:
Option A – DigiLocker (Recommended): Click “Login with DigiLocker.” Your name, date of birth, and gender are auto-fetched. Fastest and most reliable.
Option B – Aadhaar OTP KYC: Enter your 12-digit Aadhaar number. An OTP is sent to your Aadhaar-linked mobile. After successful KYC, your name and DOB will be auto-filled and locked — do not try to edit these fields.
04 Create Your Username and Password
Choose a unique username for your My Bharat profile. Set a strong password — minimum 8 characters with at least one number and one special character. Save these somewhere safe — you will need them every time you log in.
05 Fill In Personal and Educational Details
Select your gender, state, district, and city from dropdowns. Select your college from the autocomplete list. Choose at least one area of interest — this controls which opportunities appear on your dashboard.
06 Submit and Get Your MBP ID
Click “Submit.” Your MBP ID appears on the confirmation screen. Copy and save it immediately. A confirmation email is also sent to your registered email address.
How to Register as an NSS Volunteer on My Bharat Portal
NSS volunteers do not register through a separate pathway. Here is the correct process:
- Complete the full Youth Registration steps above to get your MBP ID.
- Log in to your dashboard at mybharat.gov.in.
- Click “Edit Profile” and scroll to the “Volunteering Details” section.
- Select “NSS” from the organisation dropdown.
- Select your State → District → University → NSS Unit in sequence.
- Click “Submit.” Your request goes to your NSS Programme Officer for approval.
- Your profile will show “NSS Pending” until the Programme Officer approves it from their admin dashboard.
⚠️ The NSS approval is not automatic. If your status stays “Pending” for more than 7 days, visit your NSS Programme Officer in person and ask them to approve your request on the portal.
How to Register as a Partner / Organisation on My Bharat Portal
NGOs, corporates, and government bodies register through a separate pathway via the Partner portal.
Step | Action | Details |
|---|---|---|
Step 1 | Go to Partner Portal | Visit mybharat.gov.in/ministry (not the main homepage) |
Step 2 | Select Registration Type | Click “Register as Partner” |
Step 3 | Fill Organisation Details | Name, type (NGO / Corporate / Government), address, registration number |
Step 4 | Add Representative Info | Authorised person’s name, designation, mobile, and email |
Step 5 | Submit for Verification | MY Bharat team reviews the application |
Step 6 | Receive Login Credentials | Sent to registered email after approval (typically 3–7 working days) |
Common My Bharat Portal Registration Errors and How to Fix Them
These are the most frequently reported problems during registration — and their exact solutions.
❌ “Aadhaar Already Exists” Error
You already created a profile earlier, possibly during a college event. Do not register again. Go to the login page → click “Forgot Password” → recover access using your Aadhaar-linked mobile number.
❌ “Mobile Number Already Registered” Error
An account already exists with this mobile number. Use “Forgot Password” to recover it. Creating duplicate accounts causes KYC complications and is not recommended.
❌ Aadhaar KYC Failed
Three common reasons: (1) Your Aadhaar is not linked to an active mobile number — visit your nearest Aadhaar centre. (2) Name or DOB mismatch on Aadhaar — correct it at uidai.gov.in. (3) DigiLocker details don’t match — try the Aadhaar OTP method instead.
❌ College / University Not Found
Your institution hasn’t been registered on MY Bharat yet. Complete registration without selecting a college and update it later. Ask your principal or NSS coordinator to contact MY Bharat support to get the institution added.
❌ Profile Created but No MBP ID Showing
Wait 10–15 minutes and refresh your dashboard. Check your registered email — MBP ID is always sent there. If still missing after 30 minutes, call helpline 14472.
What to Do After Registration – 4 Steps to Complete Your Profile
Most users register and then wonder why their dashboard is empty or why they are not getting opportunities. The reason is almost always an incomplete profile. After getting your MBP ID, do these four things immediately:
# | Action | Why It Matters |
|---|---|---|
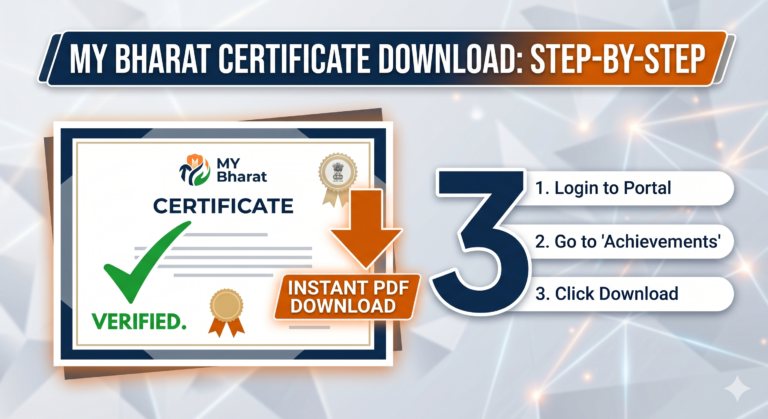
1 | Add a Profile Photo | Required for most event registrations and certificate generation |
2 | Link DigiLocker | Enables automatic certificate storage and credential sharing |
3 | Select Skills and Interests | Portal uses these to show you relevant opportunities on your dashboard |
4 | Link NSS Unit (if applicable) | Do this before your Programme Officer’s next portal session to avoid delays |
💡 A complete and verified profile is a mandatory prerequisite for the PM Internship Scheme. Incomplete profiles are automatically disqualified from this opportunity.
📞 MY Bharat Portal Helpline
For account-specific issues not resolved by this guide, call the official toll-free helpline.
14472 | 1800-212-2729
Toll-free • Monday–Saturday, 8 AM to 8 PM
Frequently Asked Questions – My Bharat Portal Registration
Final Thoughts
My Bharat Portal registration Guide 2026 is straightforward once you have your Aadhaar-linked mobile number ready and know the correct registration category. The most common reasons people get stuck are choosing the wrong registration type, or a mismatch between Aadhaar details and manually typed information.
Once you are registered and have your MBP ID, your immediate next steps are completing your profile, linking DigiLocker, and selecting your interests — this unlocks your full dashboard and makes you eligible for government opportunities including the PM Internship Scheme.
If any error is not covered in this guide, the MY Bharat helpline (toll-free, 8 AM–8 PM) can resolve account-specific issues directly.
DISCLAIMER: This is not official website, All information provided for the benefit of people of India.